Drag Queen Makeup Guide: How To Become The Ultimate Slay Drag Queen
6th November, 2024
Drag queens have revolutionised the makeup industry more than ever before, becoming a gateway to unmatched creativity and expression. Transforming your face is just the beginning.
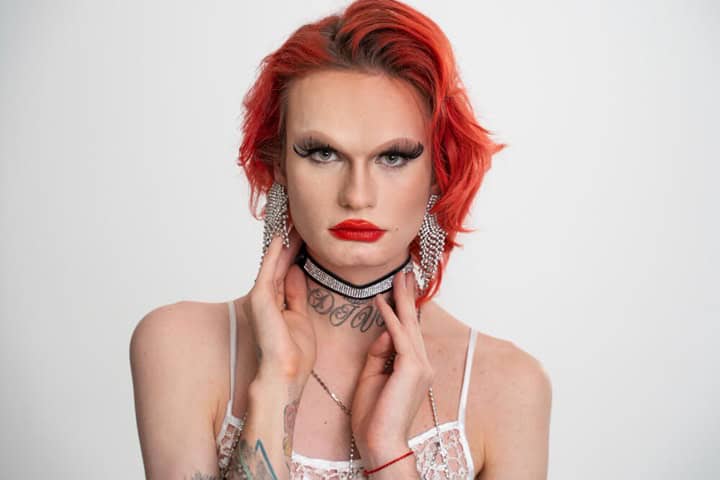
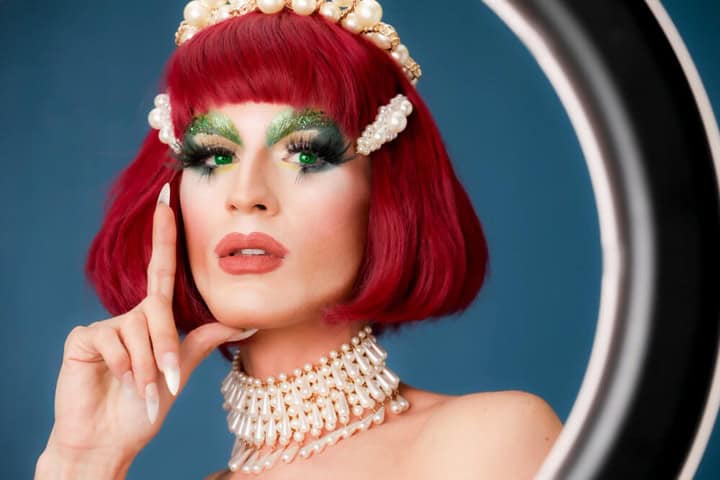
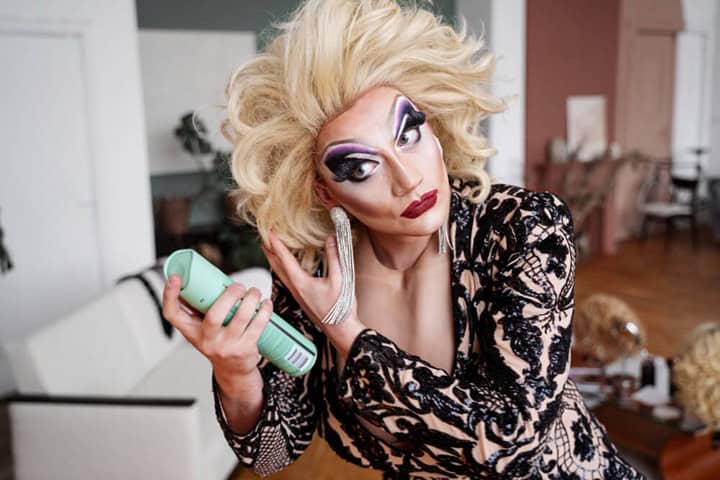
A drag queen is a performer who adopts an exaggerated feminine persona with elaborate costumes and makeup, using theatricality and comedy to entertain and often comment on gender norms. But can you do drag queen makeup yourself? In this article, we will guide you through the essentials of crafting a stunning drag queen makeup look, from foundational techniques to the final glamorous touches. By the time you finish reading, you can light up any room you will into using our drag queen makeup tips.
Key points:
- Essential tools and products for drag makeup
- Step-by-step guide to creating your drag makeup look
- Tips on contouring and highlighting to sculpt your features
- Techniques for dramatic eyes and luscious lips
- Maintenance tips to keep your makeup flawless all day
12 Essential Tools for Drag Queen Make up
For drag queen makeup, the right tools are essential to achieving a precise, bold, and lasting look. Here’s a list of must-have tools for creating stunning drag makeup:
- Glue Stick: A glue stick is essential for setting your eyebrows, creating a smooth canvas for eyeshadow and other eye makeup.
- Tape: Tape is used to subtly lift and shape the face, ideal for enhancing the eye area and refining the jawline without surgery.
- Rubbing Alcohol: Before applying tape, use rubbing alcohol to cleanse the skin of oils and residues, ensuring better adhesion and a clean working surface.
- Foundation: A varied selection of foundation shades allows for perfect skin tone matching and layering, providing the basis for any drag makeup look.
- Highlighter: A versatile highlighter adds illumination and can be used to accentuate high points of the face, such as cheekbones and brow bones.
- Setting Powder: Setting powder is crucial for prolonging the wear of your makeup, minimising the appearance of pores and fine lines, and preventing shine.
- Blush: Blush adds life and colour to the cheeks and can double as an eyeshadow for a cohesive colour theme across your makeup.
- Glitter: Glitter makeup brings sparkle and attention to any drag look, perfect for dramatic, eye-catching looks.
- Makeup Sponge: A makeup sponge ensures even coverage and seamless blending of foundations and creams, crucial for a flawless finish.
- Brushes: A quality set of makeup brushes is indispensable for applying and blending makeup precisely.
- Eye Makeup: Drag eye makeup, including mascara, false lashes, eyeliner, and vibrant eyeshadow palettes, frames the eyes and defines the overall look.
- Lip Liner: Lip liner helps define the lips and keeps lipstick in place, essential for detailed and long-lasting lip makeup.
Drag Queen Makeup: A Step-by-Step Beginner’s Guide

Drag makeup is a profound expression of one’s alter ego, as well as being able to expressively alter one’s own appearance. Follow this step by step process on how to apply drag makeup.
1. Understanding Your Drag Queen Persona
Before diving into the nitty-gritty of drag makeup, it’s crucial to identify and explore your drag persona. This creative process is as much a spiritual journey as it is an aesthetic one, allowing you to experiment with bold colours and dramatic styles.
Embrace this opportunity for self-discovery and transformation—don’t be afraid to step out of your comfort zone and try looks that truly represent your inner self.
2. Preparing Your Canvas
Successful drag makeup begins with a clean slate.
Start by shaving to ensure a smooth surface, followed by thorough cleansing and moisturising. Use rubbing alcohol on areas where tape will be applied to secure contours and features without the interference of oils.
3. Brow Mastery
Taming unruly eyebrows sets the stage for eye makeup application.
Apply rubbing alcohol to degrease the brows, then flatten them with a glue stick.
Using a comb and a metal spoon, press down the brows to secure them against your skin, creating a smooth area for makeup.
4. Foundation and Contouring
Apply a foundation that matches your skin tone across your entire face, avoiding the eyebrow area.
Use this base to sculpt your face with lighter and darker shades, bringing forth features such as cheekbones and jawlines through strategic application of highlighter, concealer, and bronzer.
5. Nose and Cheek Contouring
Contouring is key in drag makeup, capable of completely altering your face shape.
Apply darker shades under the cheekbones and around the hairline to modify your forehead and cheek appearance.
Highlight the centre of your forehead to add breadth, and contour the nose to achieve your desired shape.
6. Dramatic Eyes and Lips
Eye makeup in drag is bold and expressive.
Choose from smoky, festive, or fierce looks to complement your persona.
For lips, start with a primer to prevent creasing, then define and fill them with colours that make a statement.
Add a touch of shimmer with a highlighter rather than gloss for a lasting impact.
7. The Final Touches
Once your makeup application is complete, blend any harsh lines and correct mistakes with makeup wipes. Set everything with a powder or spray to ensure your look lasts through any performance or event. Deciding to add a little makeup pigment can spruce your look up!
Note:
Remember, the most crucial drag makeup tip is to thoroughly remove it before bed. Invest in a good skincare routine to keep your skin healthy and ready for the next transformation.
How to Bake Drag Queen Makeup

To set your makeup and ensure it remains flawless, ‘baking’ is a technique you’ll want to master. You’ll need:
- Tinted loose powder
- Powder puff
- Fluffy makeup brush
This method involves applying a heavy amount of powder to heat up your foundation and concealer underneath, setting your makeup and leaving you with a creaseless, flawless finish.
Step 1: Prepare Your Powder
Start by tapping a generous amount of loose powder into the cap of your powder container. Using the cap as a palette allows you to easily access the powder during the application process.
Step 2: Load Up Your Puff
Immerse your powder puff into the cap filled with powder. Don’t hold back—when it comes to baking, the more powder, the better. This ensures a solid, crease-free foundation that enhances the durability of your makeup.
Step 3: Define Your Jawline
Press the powder puff along your jawline and chin heavily with the powder. This technique not only sets your foundation but also sharpens and defines your contours. The lighter powder will enhance the shadow effects of your contouring, making your features appear more pronounced and sculpted.
Step 4: Secure the Centre of Your Face
Re-dip your puff into the loose powder and apply it vigorously to the centre of your forehead, around your nose, and above your upper lip—areas that tend to produce more oil. This step is crucial for locking everything in place and preventing your makeup from sliding off these oil-prone areas.
Step 5: Highlight Your Nose Contour
To accentuate the nose contour, fold your puff to make it narrow and apply a straight line of powder down the centre of your nose. This targeted application enhances the sculpted look, giving you a more defined nose shape.
Step 6: Let the Powder Bake
Allow the powder to sit on your skin and “bake” for a few minutes. During this time, the heat from your skin will meld the powder with your base makeup, setting it firmly.
Step 7: Sweep Away Excess Powder
Once your makeup has had time to bake, use a clean, fluffy brush to sweep away any excess powder. Be thorough to ensure no visible powder remains, leaving you with a smooth, matte finish.
How to Do Drag Queen Makeup: Perfect the Overlined Lip Look

Achieving the bold, exaggerated lips characteristic of drag queen makeup requires precision and the right products. Overlining your lips not only aids the shape but also adds dramatic flair to your overall drag makeup look. Here’s a straightforward guide to mastering overlined lips, ensuring they’re a standout feature of your drag makeup.
To start, you’ll need a few key items:
- Lip Scrub: Prep your lips to ensure a smooth application.
- Darker Lip Liner: Choose a liner two to three shades darker than your natural lip colour to create depth and shadow.
- Lipstick: Select a colour that complements your overall makeup theme.
- Nude Gloss: Opt for a gloss that adds sheen and enhances the volume effect.
Step-by-Step Guide to Overlining Lips
- Lip Preparation: Begin by exfoliating your lips with a sugar-based lip scrub. This step removes any flakiness and smooths out the surface, providing a clean slate for liner and lipstick.
- Choosing the Right Liner: Pick a lip liner darker than your natural lip shade. The darker tone helps create the illusion of depth, making your lips appear fuller.
- Mapping the Lips: Lightly draw lines from the outer corners of your lips towards the ears to define the edges of your overline. This preliminary sketch acts as a guide to ensure symmetry and balance in your lip shape.
- Defining the Cupid’s Bow: Start at your natural cupid’s bow and carefully draw above your natural lip line. Connect this line smoothly to the outer guides you’ve drawn, adjusting the thickness as needed for your desired look.
- Outlining the Lower Lip: From the outer corners, draw lines inward, staying below your natural lip line to adopt fullness. Ensure the lines meet in the middle, forming a complete and balanced outline.
- Filling in the Outline: Fill in the newly created lip shape with the same liner to solidify the base for your lipstick, ensuring no gaps are left, which helps in maintaining the illusion of fuller lips.
- Applying Lipstick: Apply your chosen lipstick, starting from the centre and blending outwards to meet your liner. Be careful not to cover the liner entirely at the edges to maintain the overlined effect.
- Finishing with Gloss: Finish by applying a generous layer of nude gloss over the lipstick. This not only sets the lips but also adds a dimensional, reflective quality that makes the lips pop even more.
Drag Queen Makeup Available Online With Treasure House

Elevate your drag makeup game with our exclusive range of high-quality products and makeup tools designed specifically for the art of drag. From vibrant lipsticks and dramatic eyeshadows to the perfect contouring tools, find everything you need to express your persona to the fullest. Visit our drag makeup collection and bring your drag persona to life!
Want to learn more?
Try these makeup tips to further increase your knowledge on regular, stage, and film makeup:
- Dive deeper into the world of airbrushing by visiting our detailed guide on what is airbrush makeup.
- Add an extra layer of dazzle to your drag makeup looks with our guide on how to use body shimmer powder.
FAQs
How long does it take to do drag queen makeup?
What are tips for applying false eyelashes in drag makeup?
How do drag queens keep their makeup in place for long performances?
What are the essential makeup products for a drag queen look?
Sources
Barden, A., (2022) A guide to drag eye makeup and how to get your own look. All About Vision [online] Available at: https://www.allaboutvision.com/eye-care/cosmetic/drag-makeup-looks-for-eyes/ [accessed 10/10/2024]
Hey there! I’m Isabelle Kerrington, and I’m thrilled to share my passion for the performing arts through my blog. Focusing on theatre makeup, my posts will cover everything from product recommendations to helpful tips and engaging tutorials. Join me on this exciting journey as we explore the magical world of theatre makeup together.
Leave a Reply